


We all know a great photo can make a huge impact. But taking them is often easier said than done. Seriously, raise your hand if you’ve ever tried to take one ‘simple’ photo and ended up spending hours agonizing over it and with a camera roll of hundreds of pictures, none of which seem to get it quite right. We knew some tips and tricks would make it easier, and needed to find out what they are and how to implement them in our own photography, so we took all our questions to Jessie Wyman of Jessie Wyman Photography.
What is a flat lay and how do they come in handy?
A flat lay is a photo shot directly from above and includes an array of carefully arranged objects. A great flat lay can tell a story, sell a product or create a mood. They’re perfect social media material, for an online shop or for blog posts.
Do you need a professional photographer to shoot a flat lay?
As a photographer, I know that shooting your own content can seem daunting. However, you can definitely shoot your own Instagram flat lays, product flat lays, or food flat lays at home! I actually have a guide to getting the perfect flat lay – just head to my website, jessiewymanphotography.com and it’s under resources.
What do you need to take the perfect flat lay?
Gathering your tools is actually the first step to getting that picture-perfect flat lay. You need a tripod, two foam core boards or you can use one poster board and one foam core board which can be found at Staples or any craft store, a DSLR camera, natural light and any props you want to include in the flat lay.
So once you have all of that together, what’s next?
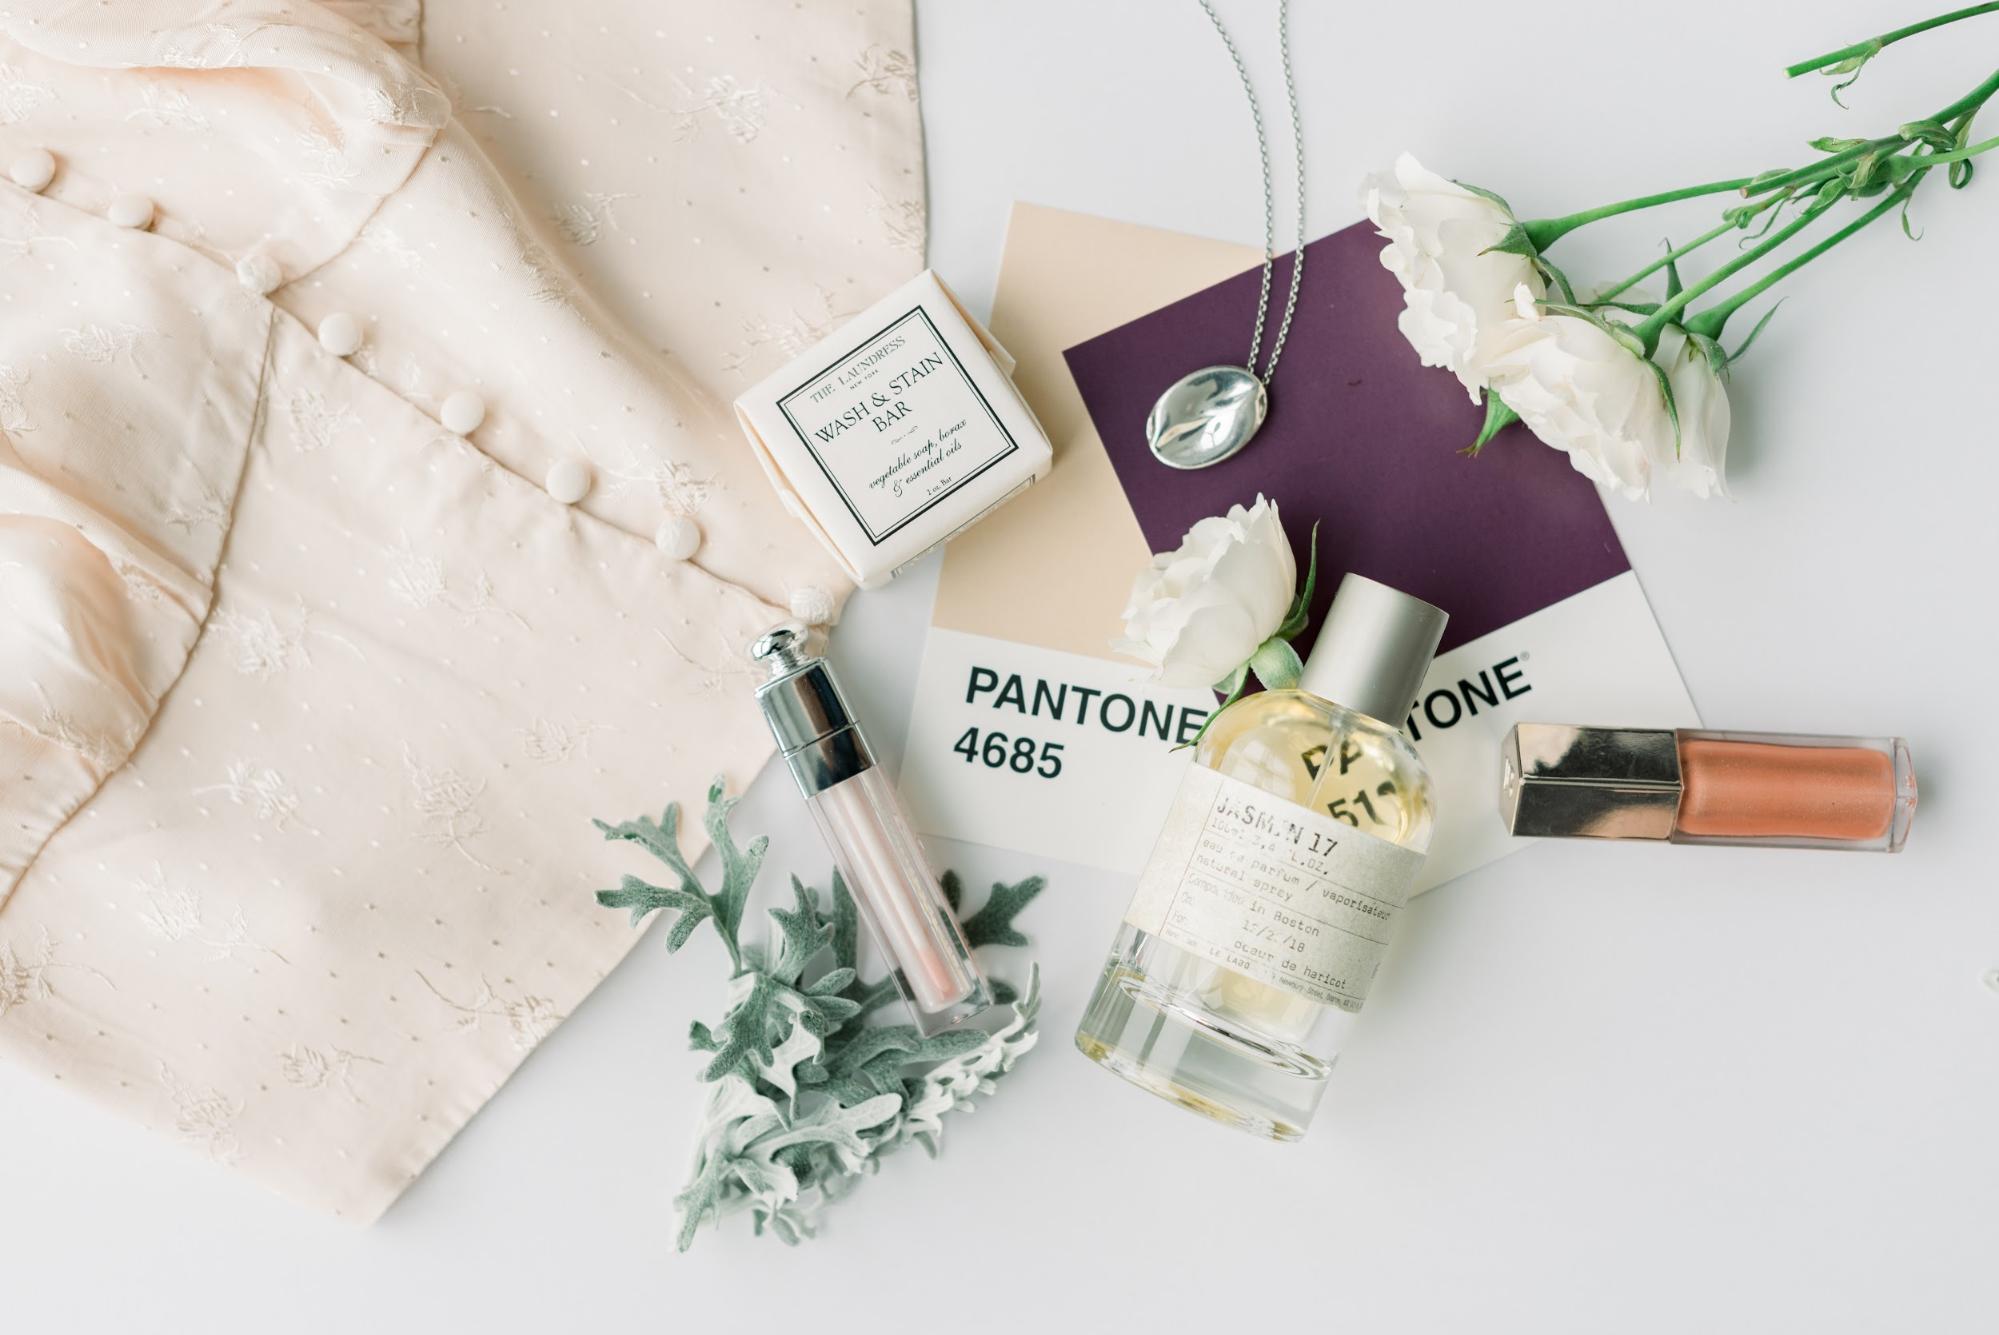
Before you even start shooting, you need to identify the goal of your flat lay. Is it to highlight a product? Tell a story? Showcase a recipe? For example, the goal of the flat lay I’m using here is to tell the story of a bold and vibrant desk setup.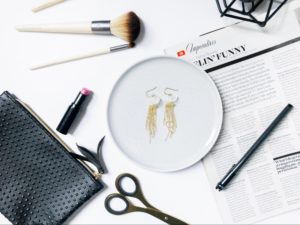
From there, identify your props. Props are visual cues and should make sense in your flat lay.
Since I’m using a desktop flat lay for this example, I have accessories related to a desk setup. If you need prop ideas, head to Pinterest and Pin some inspiration, or check out Instagram and bookmark some ideas using relevant hashtags.
How do you set up a flat lay?
You’ll want to find a window that has lots of light. Ideally indirect light is best, meaning it’s not shining directly through and you’re seeing highlights on your floor. The images I’m sharing were taken in the morning at my house when the sun wasn’t directly shining through but still very bright. If you shoot in the midday or afternoon sun you may run into lighting that is too harsh.
For my setup, I used one poster board and one foam core board. You can use two foam core boards but you need at least one for reflecting light. Here I placed my poster board on the ground and leaned my foam core board up against a stool to reflect the incoming light.
Now comes the fun part, setting up your props, right?
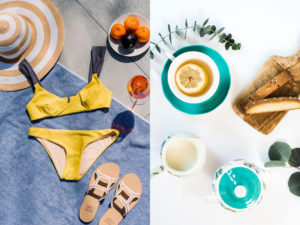
Correct! Place your items on your board and arrange them into a design that both accomplishes your goal and is aesthetically pleasing. I’ve shared a few of my own photos for some inspiration. Here I have a summer flat lay (note, the summer flat lay I actually shot outside in direct sunlight, which adds more of a hard shadow look) and a tea flat lay.
 Why do you need a tripod?
That’s because you want clear, high quality photos! With flat lays you want to have an aperture that is 6.3 or higher. This is because you likely want many of your objects in focus and a high aperture (bigger number) will result in some objects being out of the focal plane (which means they’ll appear blurry).
Without going into too much detail, a higher f-stop (or aperture) will require a slower shutter or increased ISO. But you want a high-quality image with low ISO. Which will mean that you have to slow the shutter speed down to allow for the proper amount of light to come into the camera. But you know that a slow shutter speed can lead to a blurry image, unless you stabilize it using a tripod.
Make sure your camera is level and flat to the board. And don’t forget your foam core board! Above, you can already see how even the lighting is, and using the foam core board as a reflector is one easy way to soften shadows and create more even light.
What if you don’t have tripod?
Just increase your ISO until you get the correct exposure. Keep in mind, however, that increasing your ISO will result in a higher amount of noise in the image which can reduce its overall quality.
How do you achieve that sharp, crisp photo?
Using your in-camera meter (in manual mode), find the right exposure for your shot.
It should look like this:![]()
You want the dial to be right in the center. Starting with a low ISO and my f-stop at 6.3, my meter was telling me that I needed to adjust my shutter speed to 1/40th of a second to get it to center, which is WHY I need the tripod. Without it, the shutter speed would be way too slow and I would get camera shake.
What’s the last thing you do before you start shooting?
Take a look at your shot and adjust as needed. After getting your settings where you want them, review your composition to see if there is anything you want to change. Then shoot away!
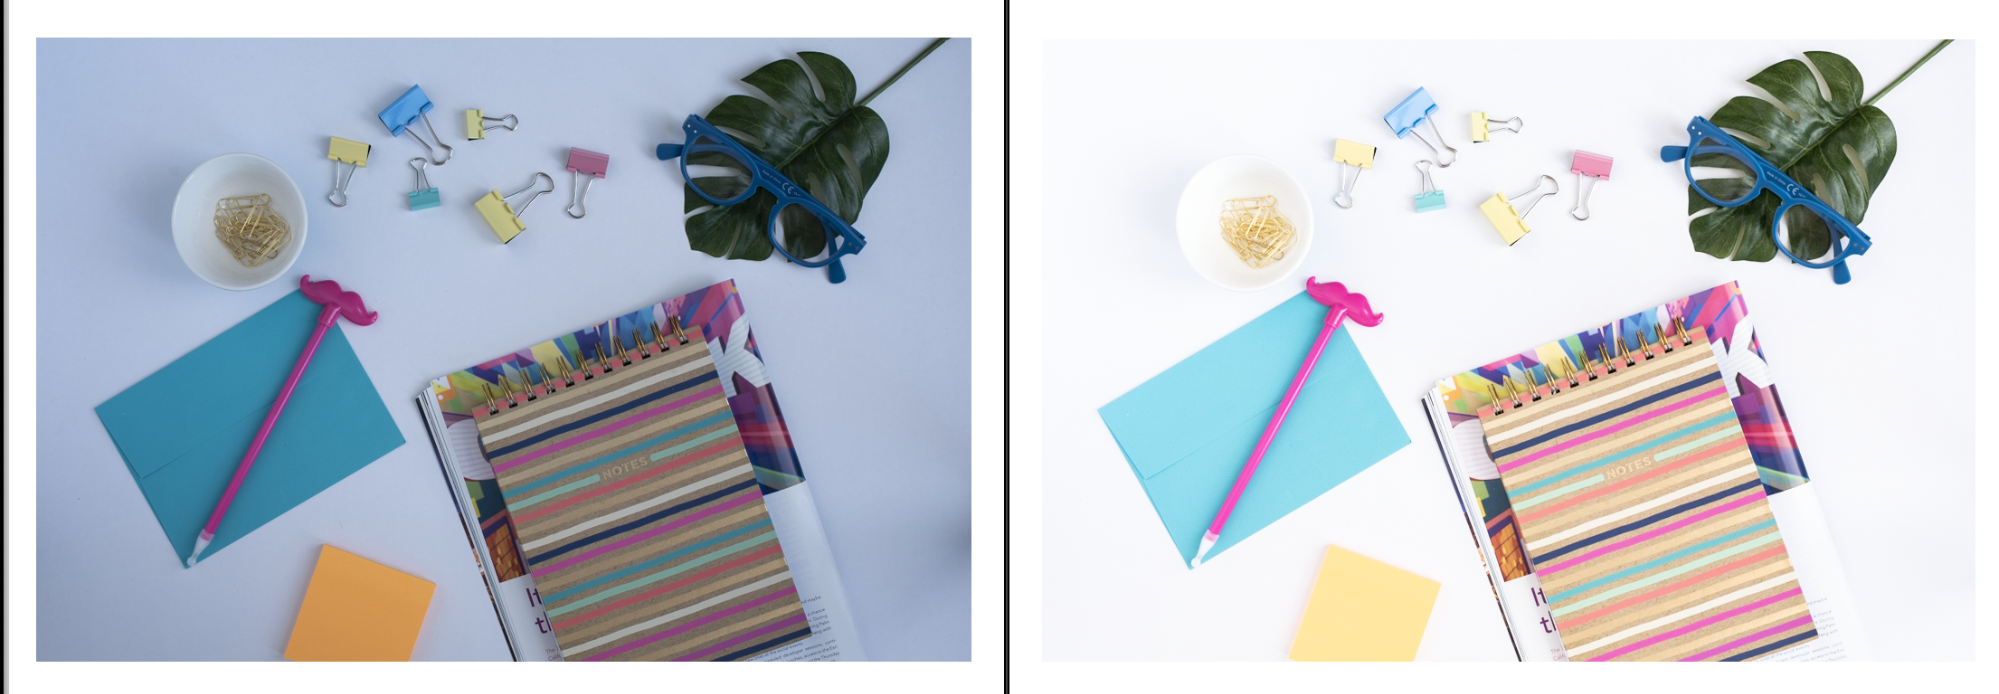
How do you edit your flat lays?
I always edit my images to give them that pop. Below you can see the image that I had in my camera on the left, with the final image after editing on the right.
For this image, I made some basic edits in Lightroom which you can see below. I also used the gradient tool to increase the exposure on the edges of the image.
Do you have any final tips to get that perfect flat lay?
I recommend shooting in RAW and using Lightroom to edit. Start with a base using my editing formula as shown in the images here. And when it comes to arranging your props, it’s okay if some of the items get cut off. Just have fun with it!
Where can people find more about you?
If you’re located in the Boston area and are in need of branding, commercial or headshot photography, please check out my website www.jessiewymanphotography.com. Or, if you’re a photographer looking to venture into branding photography, you can take a look at my course, The Brand Photographer Method (www.thebrandphotographermethod.com). And if you do take your own flat lay photos, make sure you tag me on Instagram, @jessiewymanphotos. I’d love to see them!


